Work with Notes
There are two types of Notes you can add to an Inquiry.
Add a comment (client-visible)
-
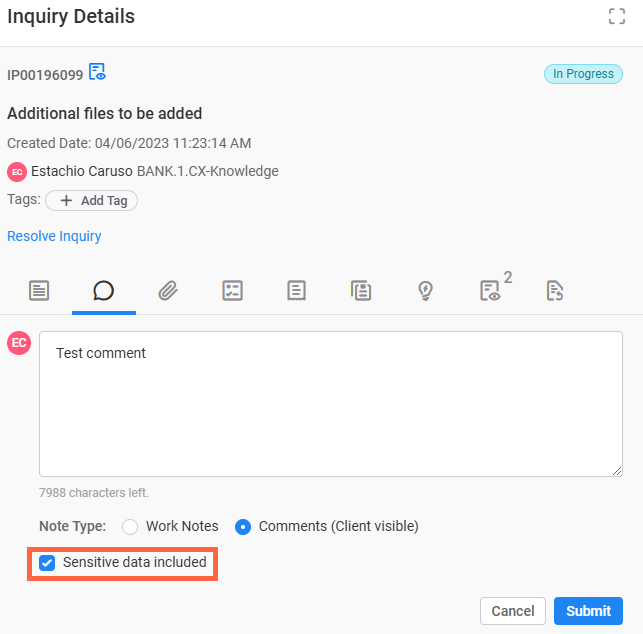
Select the Notes tab from the Inquiry Details pane.
-
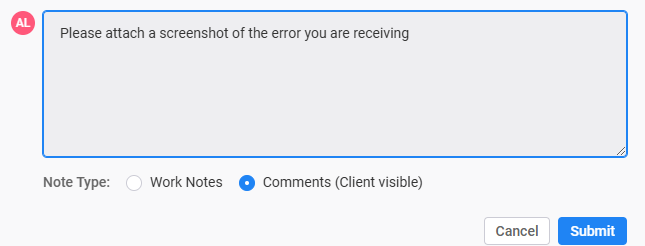
Select the New Note field and enter your notes.
-
Select Comments (Client visible).
Comments are visible to clients. If you do not want clients to see your notes, select Work Notes. -
If your comment is of a sensitive nature, check the Sensitive data included checkbox.
-
If your note is between 9 and 19 digits, not including special characters (except in the case of dashes for a Social Security Number or card number), the following warning appears.
Your comment contains PCI/PII sensitive data, or you have marked it as sensitive. Do you want to submit this comment with sensitive data?
- Select Confirm to submit the comment as entered.
- Select Cancel to edit your comment before submission.
-
Select Submit.
Mask and unmask sensitive data
InquiryPoint automatically masks sensitive data, and the data appears as asterisks by default. If you entered the sensitive comment, or have permissions to view sensitive comments, you can select Show Sensitive Comment or Hide Sensitive Comment in the upper-right corner of the comment to mask and unmask the data any time you want.
Add a Work Note (internal-only)
-
Select the Notes tab from the Inquiry Details pane.
-
Select the New Note field and enter your notes.
-
Select Work Notes from the Note Type field.
-
If your Work Note includes sensitive data, check the Sensitive data included checkbox. In the confirmation window that appears, select Confirm to submit the Work Note or select Cancel to go back and make any necessary changes.
-
Select Submit.
Update the audience for a note
-
Select
 (Edit) on the note you would like to update.
 -
Select the new note type.
Comments are visible to clients. When you add a new comment or change the visibility of a work note to become a comment, clients will receive a notification.
Work Notes are only visible to associates.
-
Select Submit.