Add a New Multi-Contact Client Contact
This section details how to add a new contact to Client360 and provide them access to multiple clients.
In order to add a new contact to a client organization, you must have admin access to those organizations. If you do not have admin access to an organization, you cannot add the contact as a member of that organization.
-
Select Create Contact.
-
Set Access to Portal to Yes.
If the new contact is an administrator, set Client Administrator Privileges to Yes.
-
Enter the contact's First Name, Last Name, and Email.
-
Select all the clients associated with the contact under Client Name.
-
Select a Primary Client. This is the client organization that appears by default when the contact signs in to Client360.
If the contact is associated with only one client, the Client Name and Primary Client should be the same.
-
Enter a phone number for the contact to allow them to receive MFA authentication codes on their phones.
Only mobile phones can receive MFA authentication codes.
-
Select a time zone for the contact.
-
Select Continue.
-
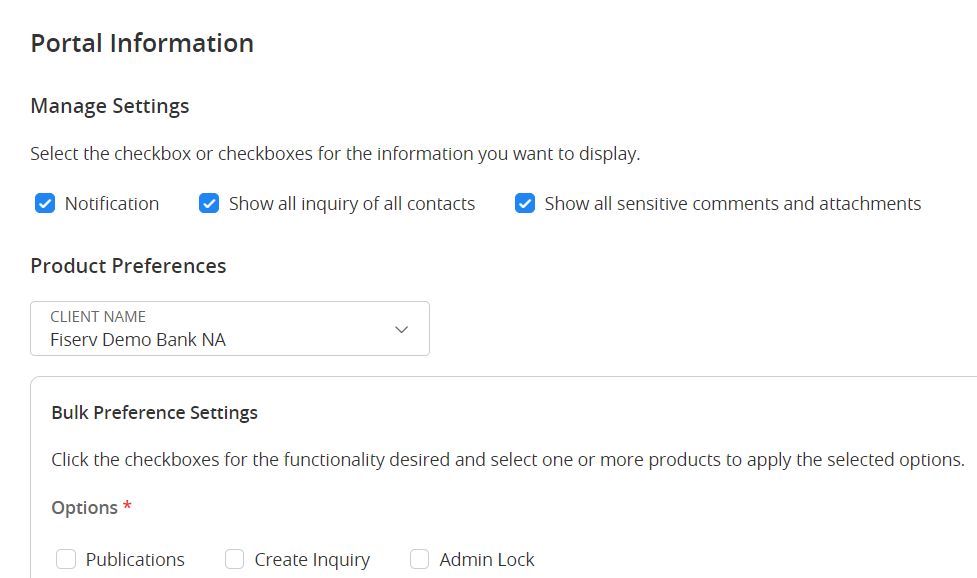
Select the necessary portal settings.
-
Notification: The contact will receive notifications related to their product preferences.
-
Show all inquiries of all contacts: The contact will see inquiries for their clients regardless of who created them.
By default, users can see only the inquiries they personally created.
-
Show all sensitive comments and attachments: The contact will see all comments and attachments to inquiries regardless of who added them.
-
-
Select a Client Name.
-
Set the product preferences for the new contact.
 Bulk update product preferences
-
Under Bulk Preference Settings, select or clear the options to reflect your desired state after the update.
- Select the product or products you would like to update.
- Select Apply.
Individually update product preferences
- Under Preferences, locate the product you would like to update.
Find the product quickly by using the search bar.
- Select or clear the options to reflect your desired state.
-
-
Repeat Steps 10 and 11 for each client.
-
Select Submit.


Based on the selections you made when creating the contact, Client360 will assign them a role.
| Role | Permissions |
| Caller only | This user does not have access to Client360. Fiserv associates create inquiries on behalf of this user. An admin must maintain their contact information to make sure Fiserv associates can contact them as necessary. |
| Associate | This user can manage their own user account, create inquiries, and receive communicates based on the permissions assigned by their admin. |
| Invoice Admin | This user can manage their own user account, create inquiries, and receive communications based on the permissions assigned by their admin. They can also view and manage invoices. |
| Standard Admin | This user has access to both the standard Client360 portal and the Admin portal. |